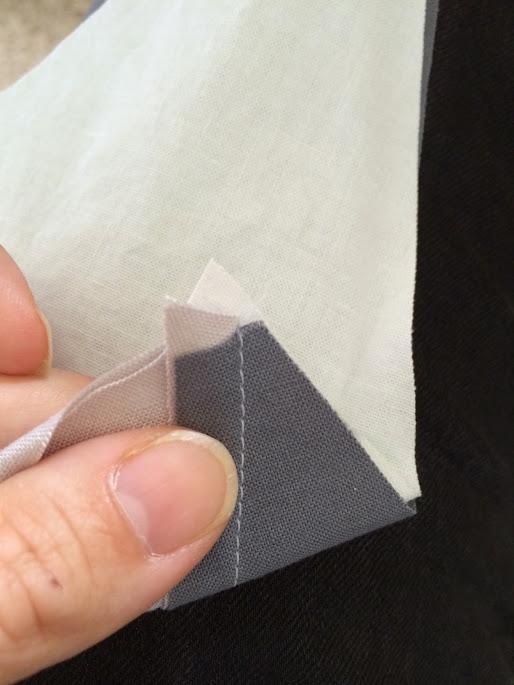
I’ve been doing a lot of smaller knitting projects lately. I really liked the tie dye effect of this Socks that Rock Yarn on this little t-shirt. The pattern is the Sugar Magnolia Pullover by Laura Spargo Anderson of Foothill Stitches. I made a size 2T.
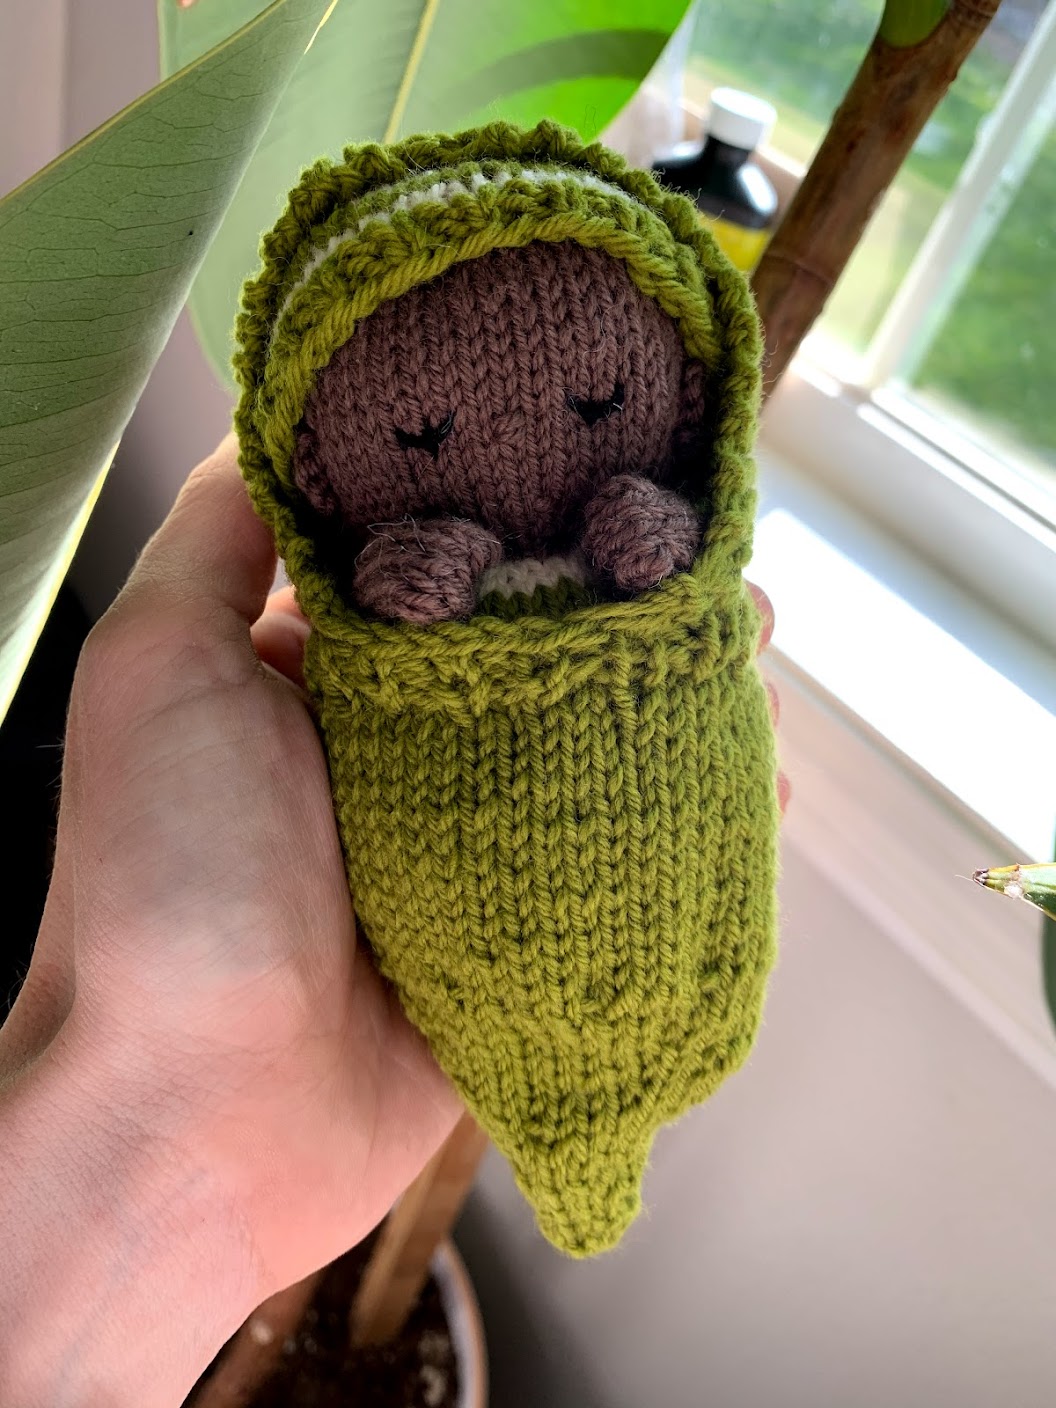
Another favorite is this tiny little baby knit in Wisconsin Woolen Spun Fingering Weight. The pattern is Babies in Buntings by Susan B. Anderson.
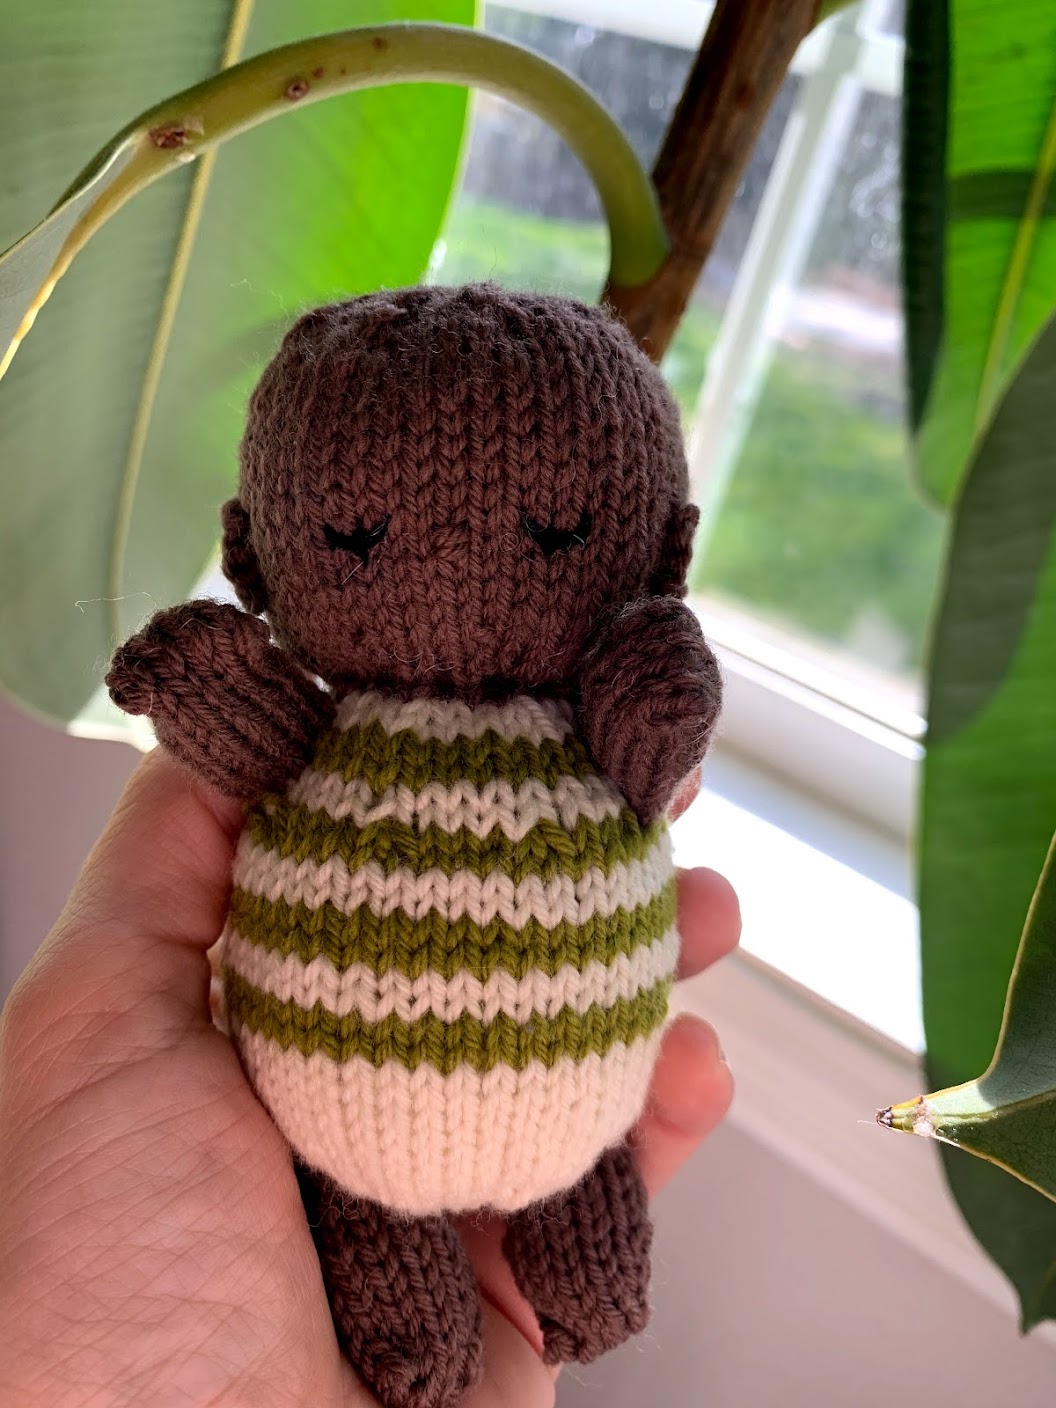
I already bought yarn to make another one. I’m going to give it a go in Quince’s Finch.
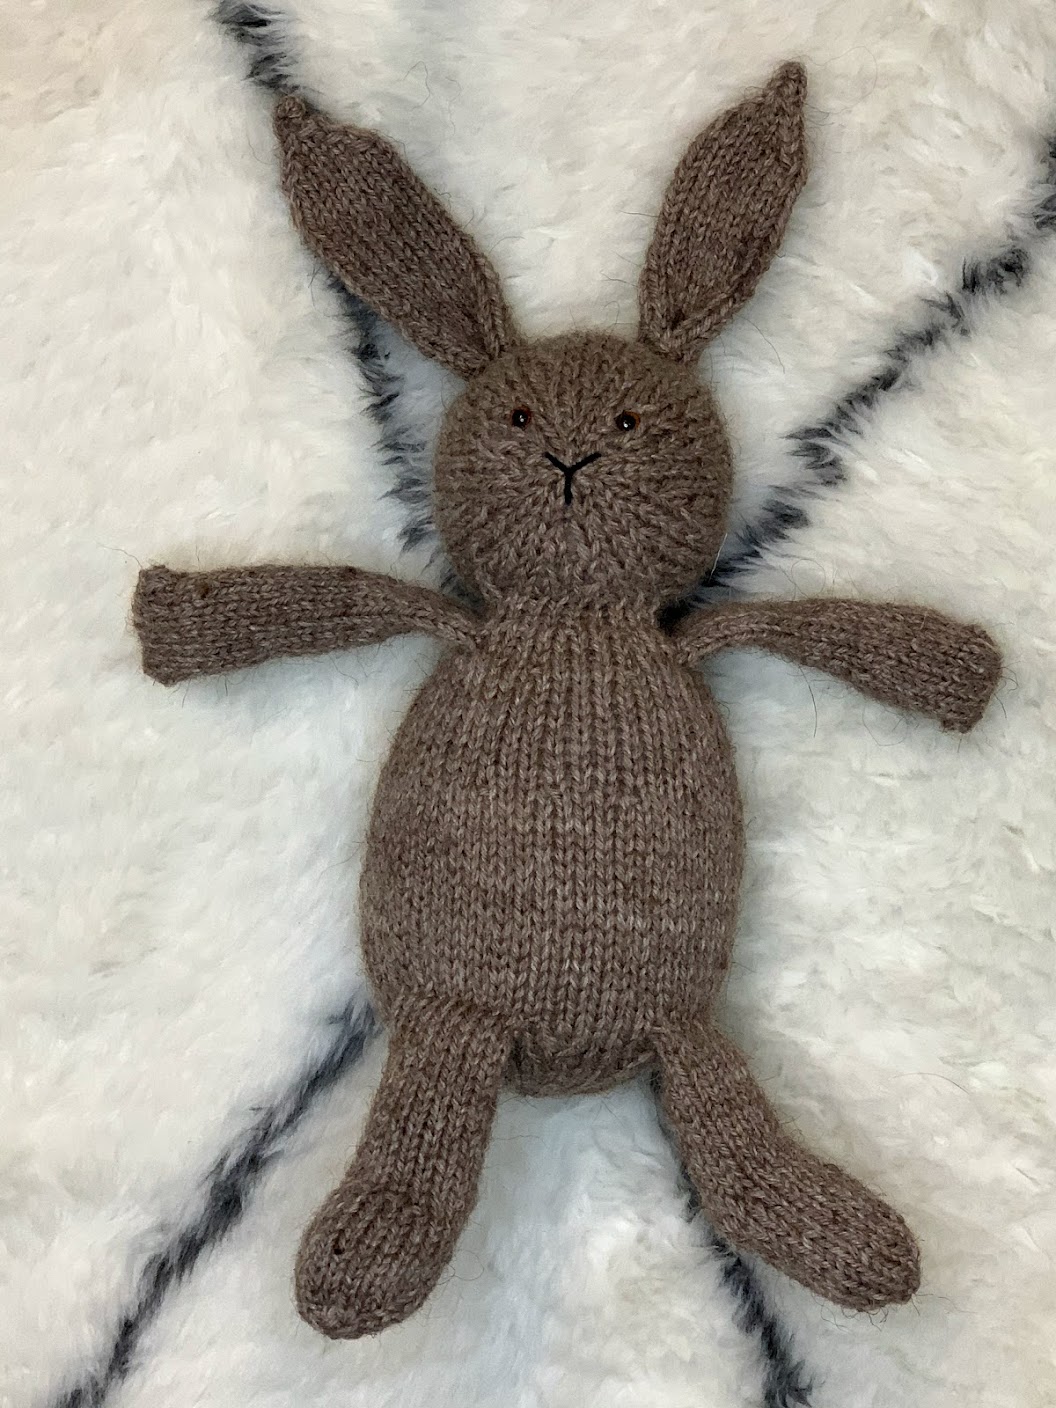
I loved Susan B. Anderson’s toy pattern so much that I tried her Christopher Bunny and it did not disappoint. I knit this fellow in Quince’s Chickadee.
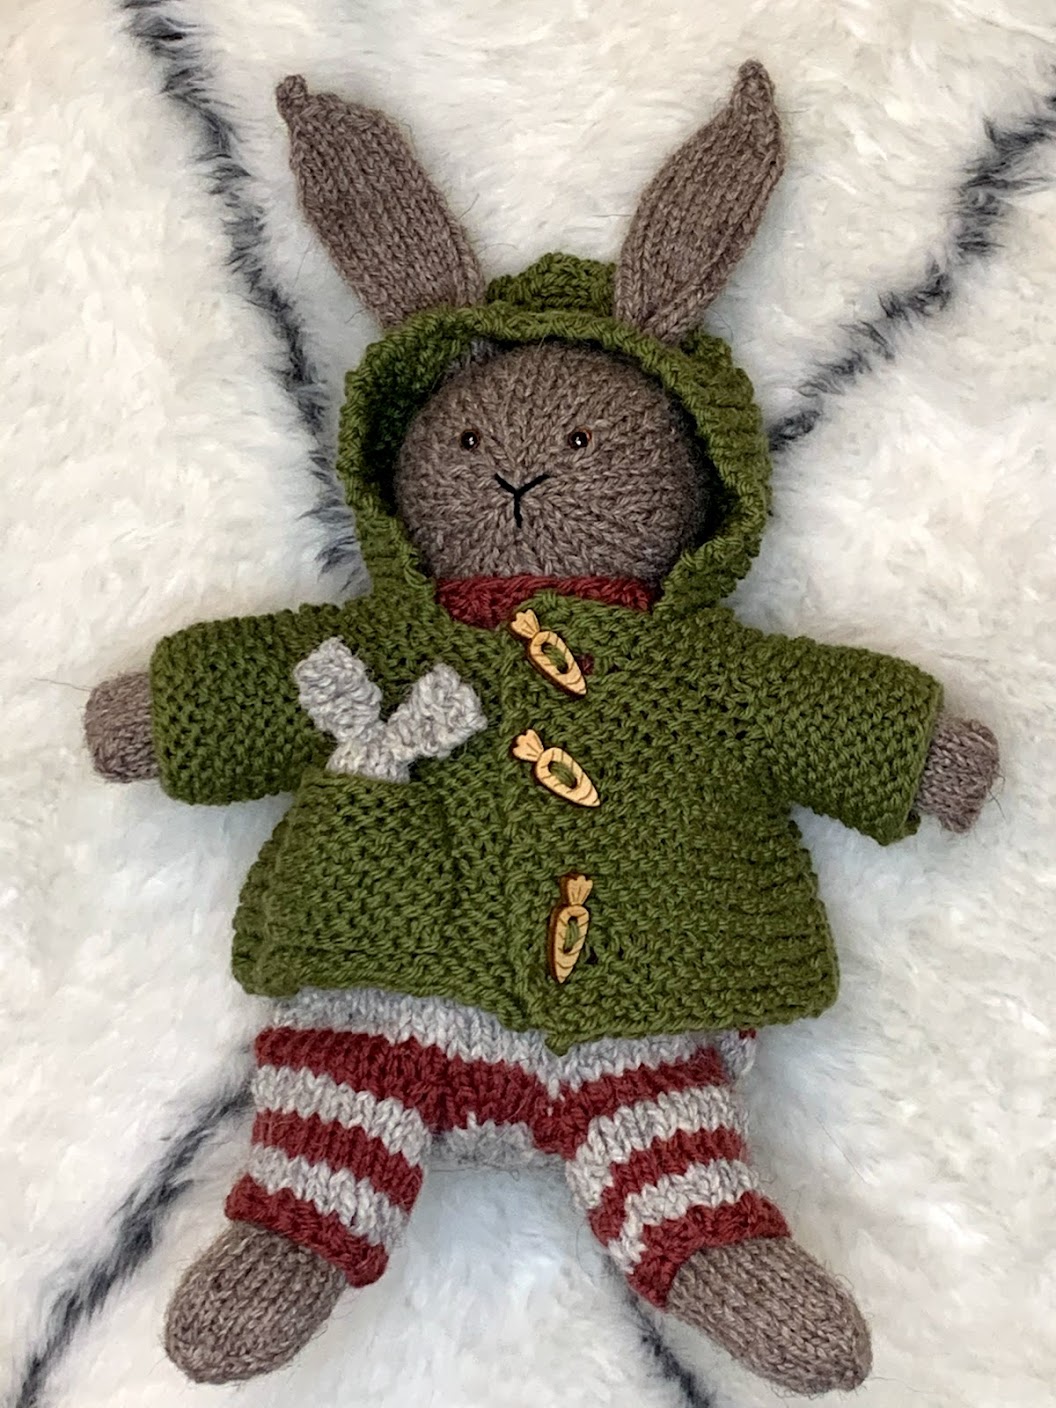
And I loved him so much that I had to make his pants, sweater, jacket, and little pocket bunny pal. I even made him a carrot, though it isn’t pictured here.